Car Scratch Repair Instructions
Preparation
Ensure that the car surface and the car scratch to be repaired has been thoroughly cleaned, and dried, prior to application of the supplied touch up paint and finishes. Ensure that all wax/polish has been removed from the chipped or scratched area. It is important to vigorously shake the paint bottle prior to use. Always use the supplied protective gloves and appropriate eye protection in a well-ventilated area when repairing a car or motorcycle scratch.
Start the application process in a small area until you have fully familiarised yourself with the process. Best results to repair paint scratches or chips on a car will be obtained by following the instructions fully.
Step 1
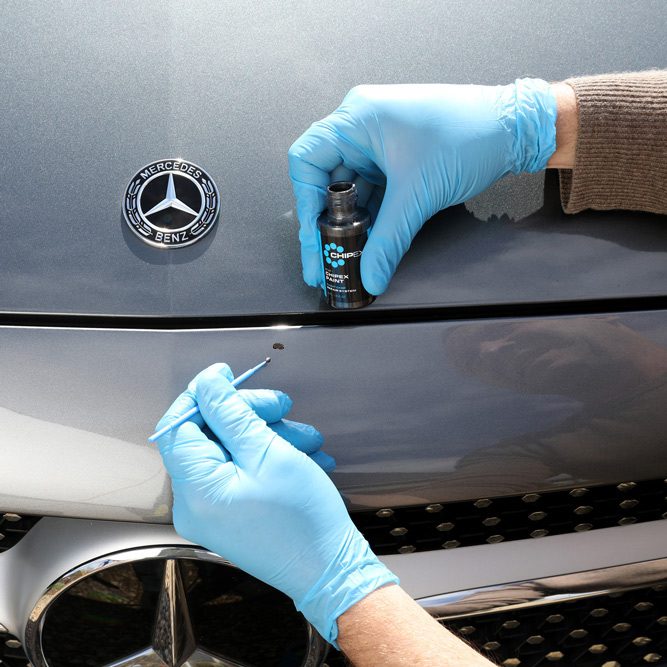
Paint Application To Car Scratch or Chip
Apply the car touch up paint onto the damaged area with the Chipex® paint applicator brush® or in the case of ‘Road Rash’ simply dip your finger into the paint and then smear the paint with your gloved finger. If you have applied the paint using the Chipex paint applicator brush® smear the paint flat across the car scratch or chipped area with your finger or thumb whilst wearing the protective glove. Make sure the touch up paint is smeared out flat so that it is touch dry.
The drying time for the paint can be anywhere between 30 seconds and 5 minutes depending on the ambient temperature and quantity of paint applied to the area. This may take slightly longer if there is a large car scratch or chip.
Step 2
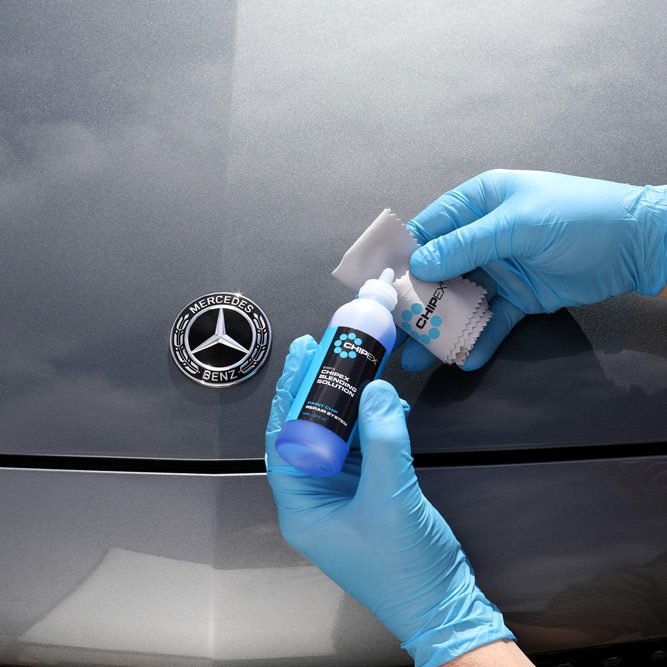
Blending Solution
Once the touch up paint is touch dry, apply a small quantity of the blending solution to the paint removal cloth.
Using a light pressure, gently run the cloth across the surface to remove the excess paint from the panel. Do not rub the surface too hard as the Blending Solution will do the work to the car scratch or chip.
Once all the excess paint is removed from around the car’s scratch or chip, leave to dry for a few minutes before commencing with stage 3 of the process.
Step 3
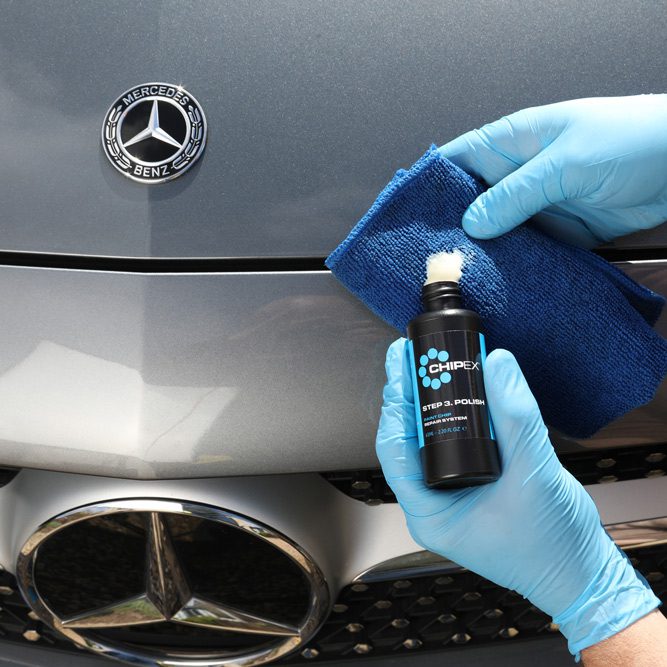
Polish
Once the panel surface is dry apply a small quantity of Step 3 Finishing Polish to the Microfibre cloth and gently rub over the entire treated area.
Once the polish has dried to an opaque haze gently remove with the Microfibre cloth.
It is recommended that you polish the whole panel so as to give the best results when doing a car scratch repair or chip repair, or on a motorcycle.
Hints & Tips
Large & Deep Car Chip Repair
You can repeat Steps 1 & 2 so as to build up the touch up paint level within the chip should this be required. On particularly deep chips this process will have to be repeated multiple times so as to gradually increase the paint layer by layer.
Mistakes
Should you make a mistake at any time you can remove the paint by applying the step 2 Blending Solution and start over again.
Temperature
It is recommended that the application process is used in temperatures above 0°c, as the paint drying process will be reduced.
Getting the right Touch Up Paint
To find the right car touch up paint to repair your scratch or chip, simply click here and select your make, model and color.
For motorcycle touch up paint, simply click here and follow the same process.
Important
This car touch up paint product is not suitable for cars that have been recently painted, and it is recommended that you allow at least 1 month for the original car paint to cure from time of painting.